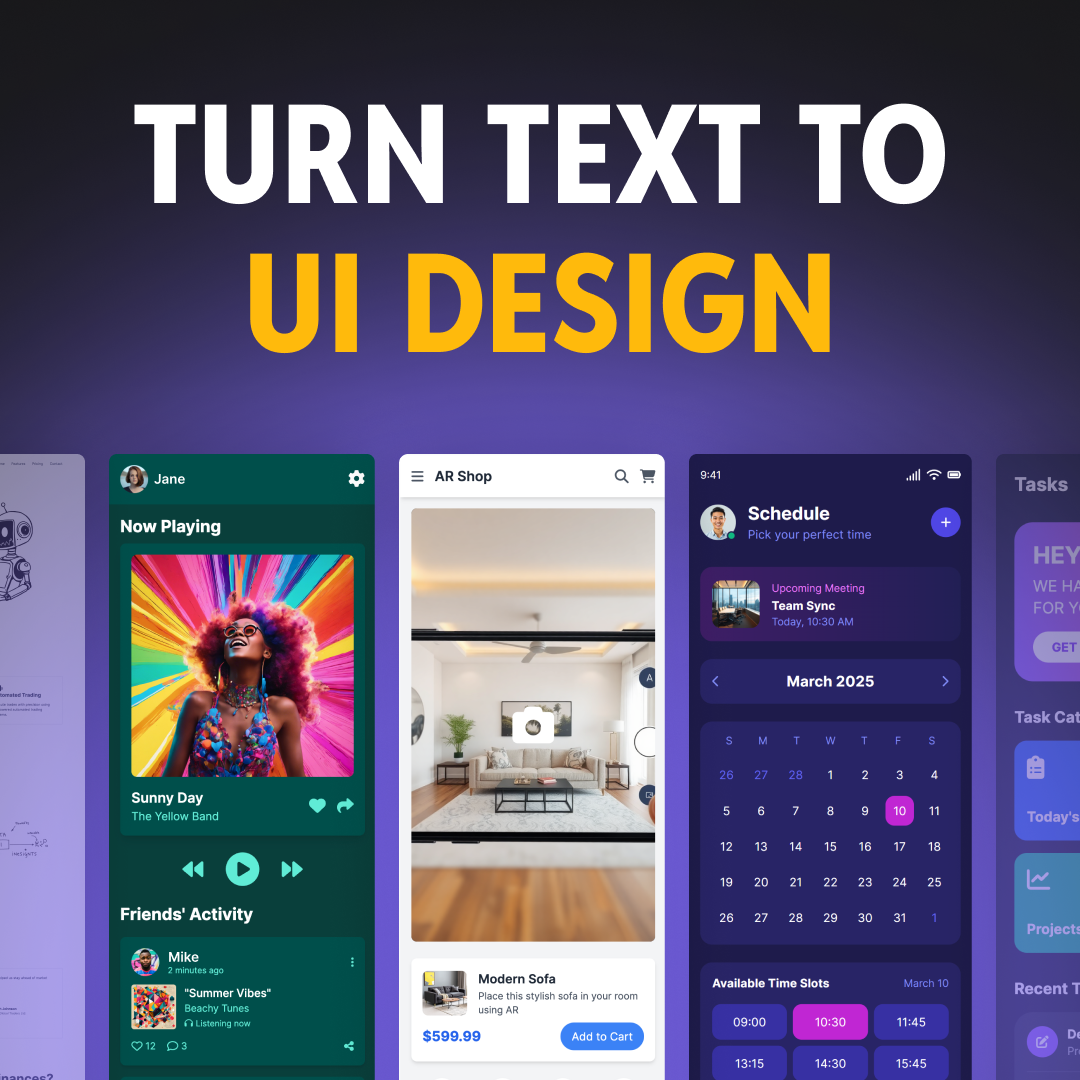
Designers are increasingly turning to artificial intelligence to streamline and enhance their design process. This has led to a surge in the creation of AI-powered UI design tools in recent years.
But with the vast amount of tools now available, some generating subpar designs, choosing the right tool can be challenging. Even after you’ve settled on one tool, you face yet another challenge: how to create good-quality UI designs with your tool of choice.
If any of these challenges sound familiar, read on. This article will show you how to generate pixel-perfect UI designs with UX Pilot, an AI-powered tool that’s revolutionizing how we convey design ideas.
From Text Prompt to Pixel-Perfect Design in Seconds
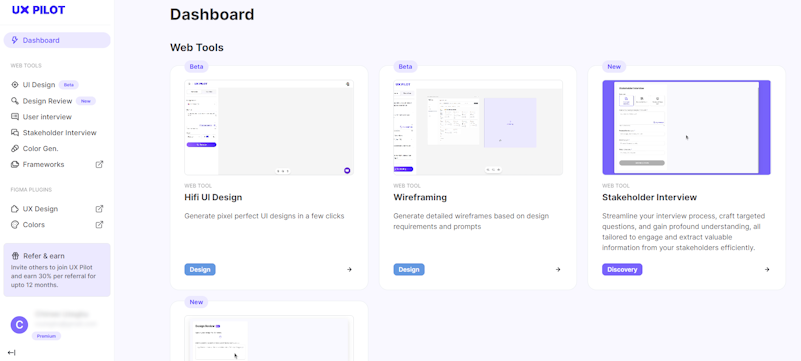
UX Pilot dashboard
On your UX Pilot dashboard, select ‘HiFi UI Design’. Once, the hi-fi design interface opens, you’re just a few clicks away from pixel-perfect UI designs. Let’s take you through the steps, from text description to UI design.
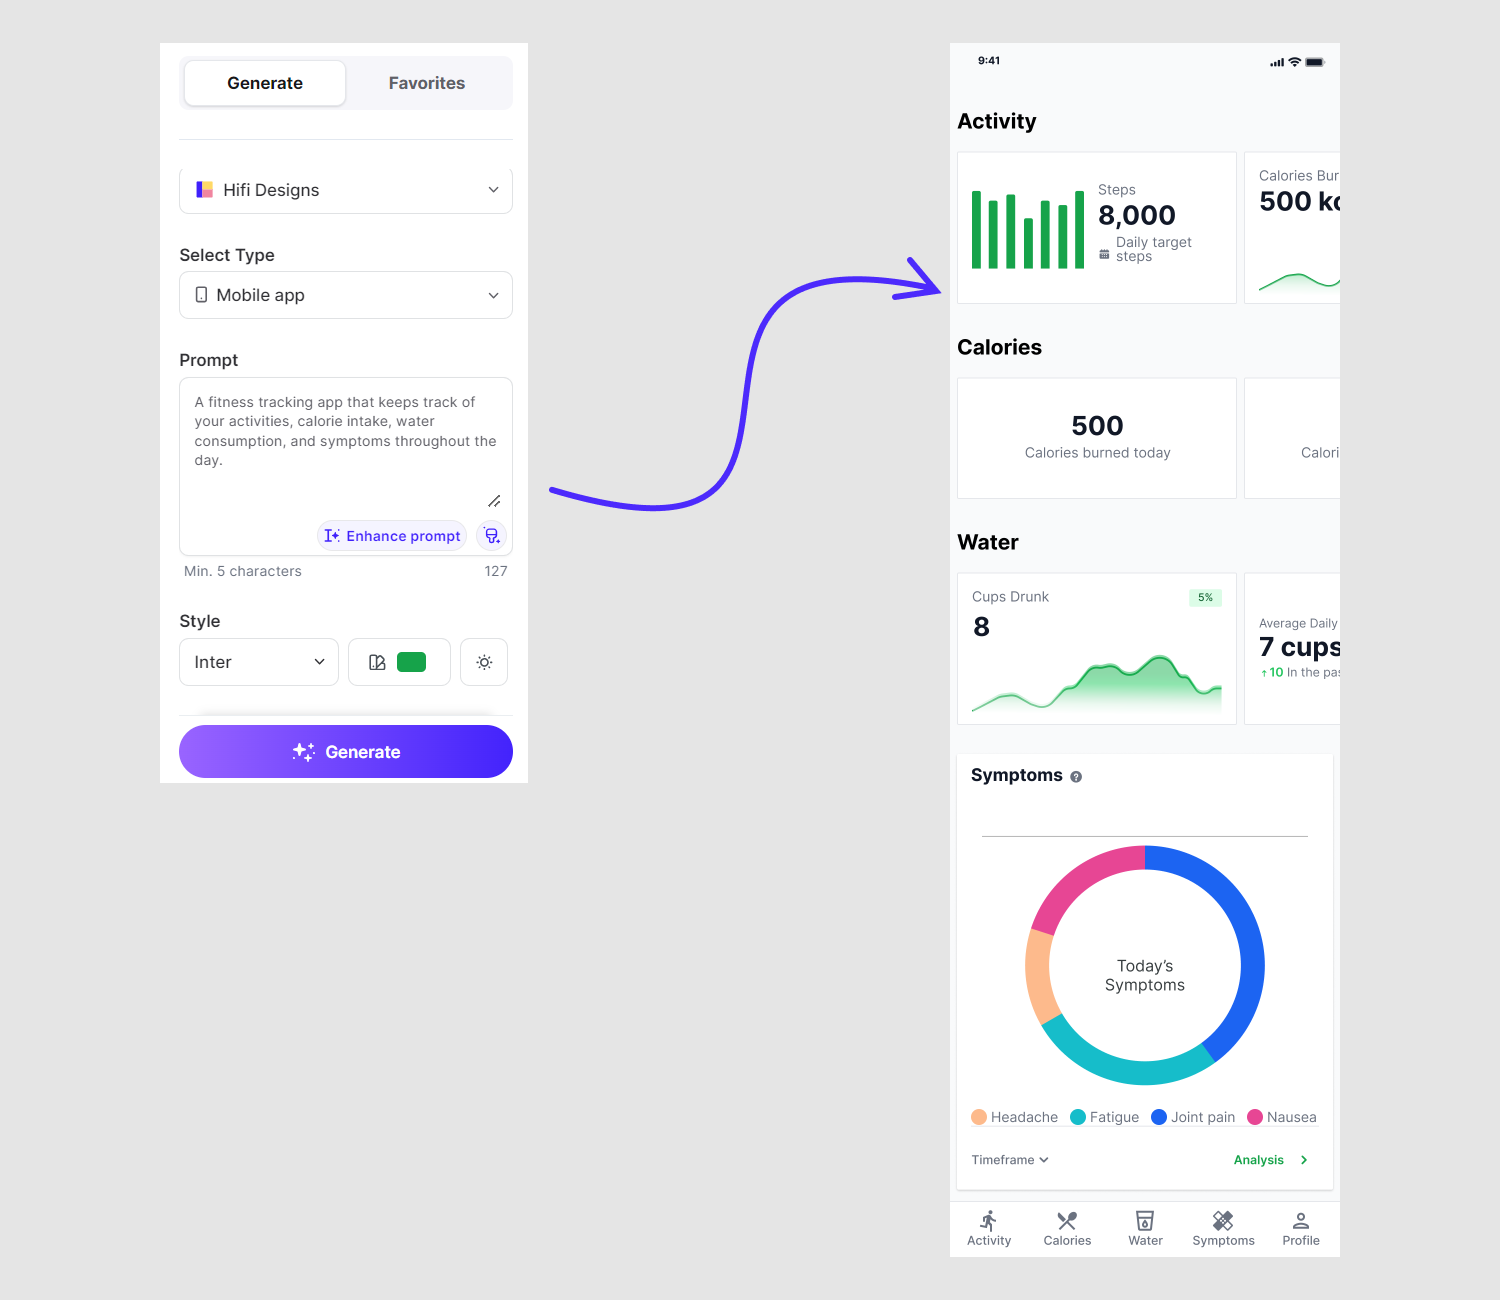
Start by choosing the device you’re designing for — mobile or desktop.
Next, enter a description of the design you want to create. Your description can be as brief or as detailed as you want, but it should be written in plain English.
Then, select your preferred font and color scheme.
Finally, click ‘Generate’, sit back, relax, and let UX Pilot perform its magic in just a few seconds.
Now, let’s demonstrate what this looks like in practice with this text prompt:
A finance and investment platform that provides real-time market data, portfolio tracking, investment analysis tools, and personalized financial advice.
Here’s the result from UX Pilot:
It took under a minute to go from entering the text prompt to getting the finished design. As requested, UX Pilot generated a platform with the following features:
Financial advice section
Investment tools
Portfolio management section
Real-time market data including market trends and stock market reports.
Perfecting Your Text Prompt
If you’re not sure how to write the perfect text prompt to produce designs that align with your vision, UX Pilot can help. Just enter your text prompt in your own words and click ‘Enhance prompt’ at the bottom of the prompt entry field. In a few seconds, UX Pilot will turn your prompt into a concise product description and give you a list of the main UI components.
Let’s show you how this works with this example prompt:
A food ordering platform that lets users customize their orders based on their preferences and dietary needs.
Here’s UX Pilot’s rewrite:
Enhancing your text prompt with UX Pilot
Product: FlavorFusion
Product Description: FlavorFusion is a flexible food ordering platform that enables users to personalize their orders based on their preferences and dietary requirements.
Main UI Components:
Top Menu: User profile icon, search bar, and dietary preference filters.
Sidebar: Navigation links for food categories, dietary options, and order history.
Main Content Area: Sections for restaurant selection, menu item selection, and order customization. Special instructions can also be added for orders.
Editing Your UI Designs in UX Pilot
Forget about pushing pixels manually. After creating designs with UX Pilot, you can have the AI edit them by entering a follow-up prompt. Simply tell the AI what you want to change and allow it to perform its magic.
Let’s demonstrate how follow-up prompts work with this design generated by UX Pilot:
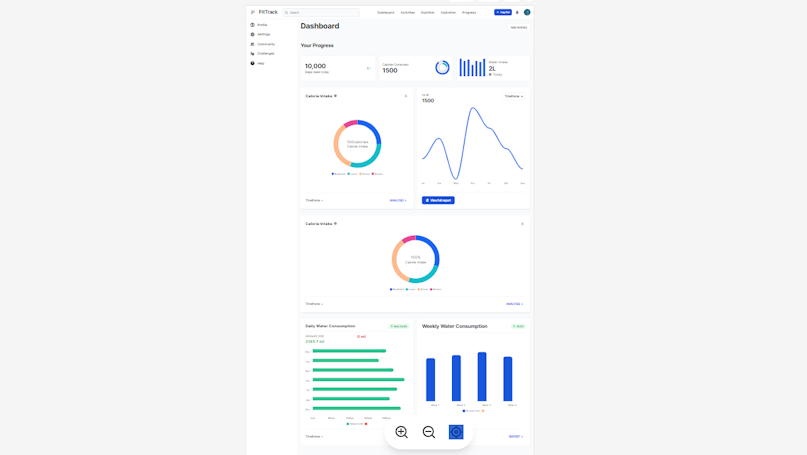
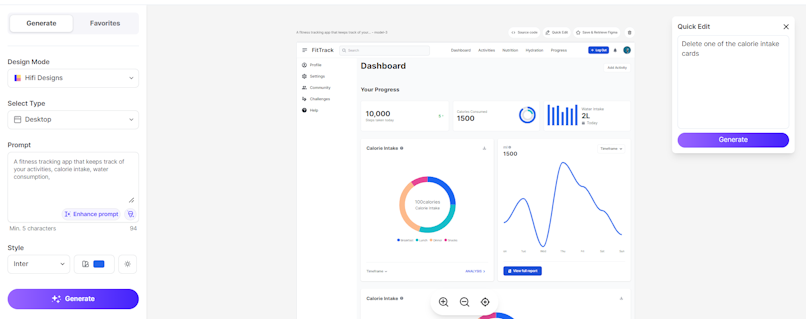
AI-generated fitness platform
In the above example, the AI generated two calorie intake tracking cards. But that’s easy to fix. Instead of manually adjusting the design, you can write a follow-up prompt to resolve the issue.
Click ‘Quick edit’ at the top right of your design.
Type your follow-up prompt in the pop-up box that appears.
Click 'Generate'.
And here’s the edited design:
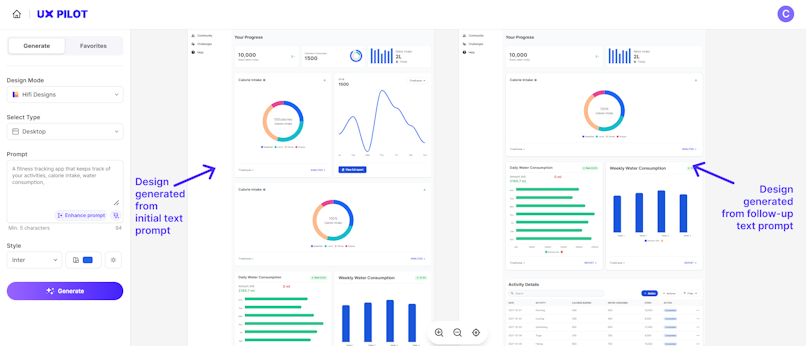
You can keep adjusting the design by writing follow-up prompts until you’re happy with the results.
Transferring Your UX Pilot Designs to Figma
So now you’re happy with your generated designs and want to move them to a more familiar design environment. The process is pretty straightforward with UX Pilot. Unlike other UI generation tools, UX Pilot integrates with popular design tools like Figma and Adobe XD.
Here’s how it works in a few easy steps:
Click ‘Save & Retrieve Figma’ at the top right of your generated design. This will automatically save your designs for later access in Figma.
Open your Figma design file, go to plugins, and choose UX Pilot AI.
Once the UX Pilot interface opens, go to Favorites and click on the design you just saved to open it.
Your saved designs will appear in Figma exactly as they do in UX Pilot. All elements are fully editable, allowing you to tweak the design even further.
Exporting Your Code
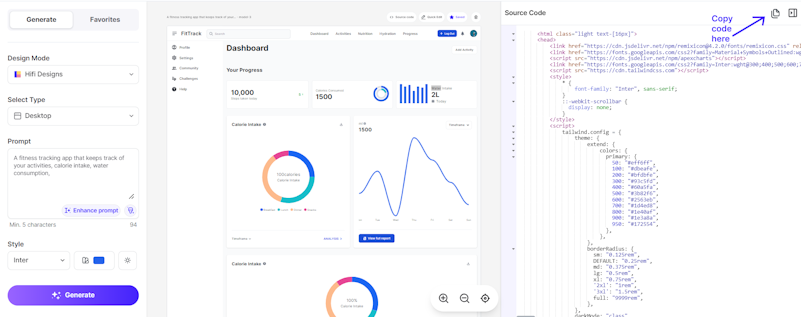
After creating your designs in UX Pilot, you can export your work into clean, maintainable code. This can significantly reduce the development times and ensure that the interactive elements work correctly in the final product.
To export your code, click ‘Source code’ at the top right of your generated design. The source code will display to the right of your design. Next, click the copy icon at the top right of the screen to copy the code for later access.
Wrapping Up
UX Pilot is transforming the way designers work with its AI-powered magic. As demonstrated in this guide, you can create pixel-perfect designs in seconds with just a simple text prompt, making your design process quicker and easier.
With features like text prompt enhancement, AI-powered design editing, seamless integration with Figma, and no-fuss code export, there's no limit to the possibilities this tool brings. So whether you have a simple design idea or a complex design concept requiring out-of-the-box design solutions, UX Pilot is your go-to tool. And the best part? You can start exploring this powerful tool for free.
If you’re interested in exploring the wonders of UX Pilot without any financial commitment, sign up for free.

