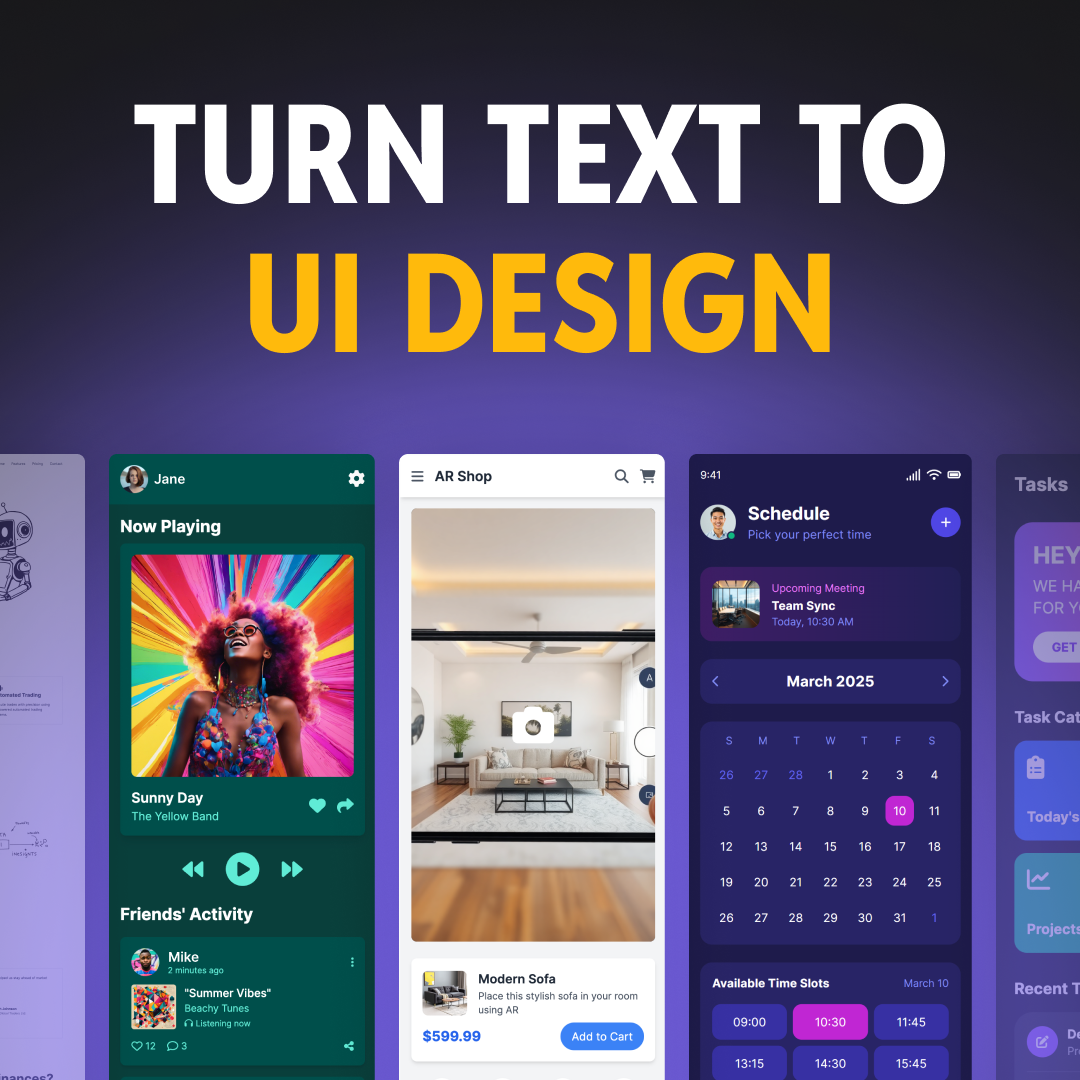
Gone are the days when designers spent eons mulling over every last design detail. With the advent of AI, designers can now streamline their workflow and achieve results in a fraction of the usual time. Whether it’s idea generation, wireframe sketching, or even generating polished UI designs, there’s an AI tool for the job.
UX Pilot: AI UI Generator is one such tool that uses AI to speed up your workflow and revolutionize how you communicate design concepts.
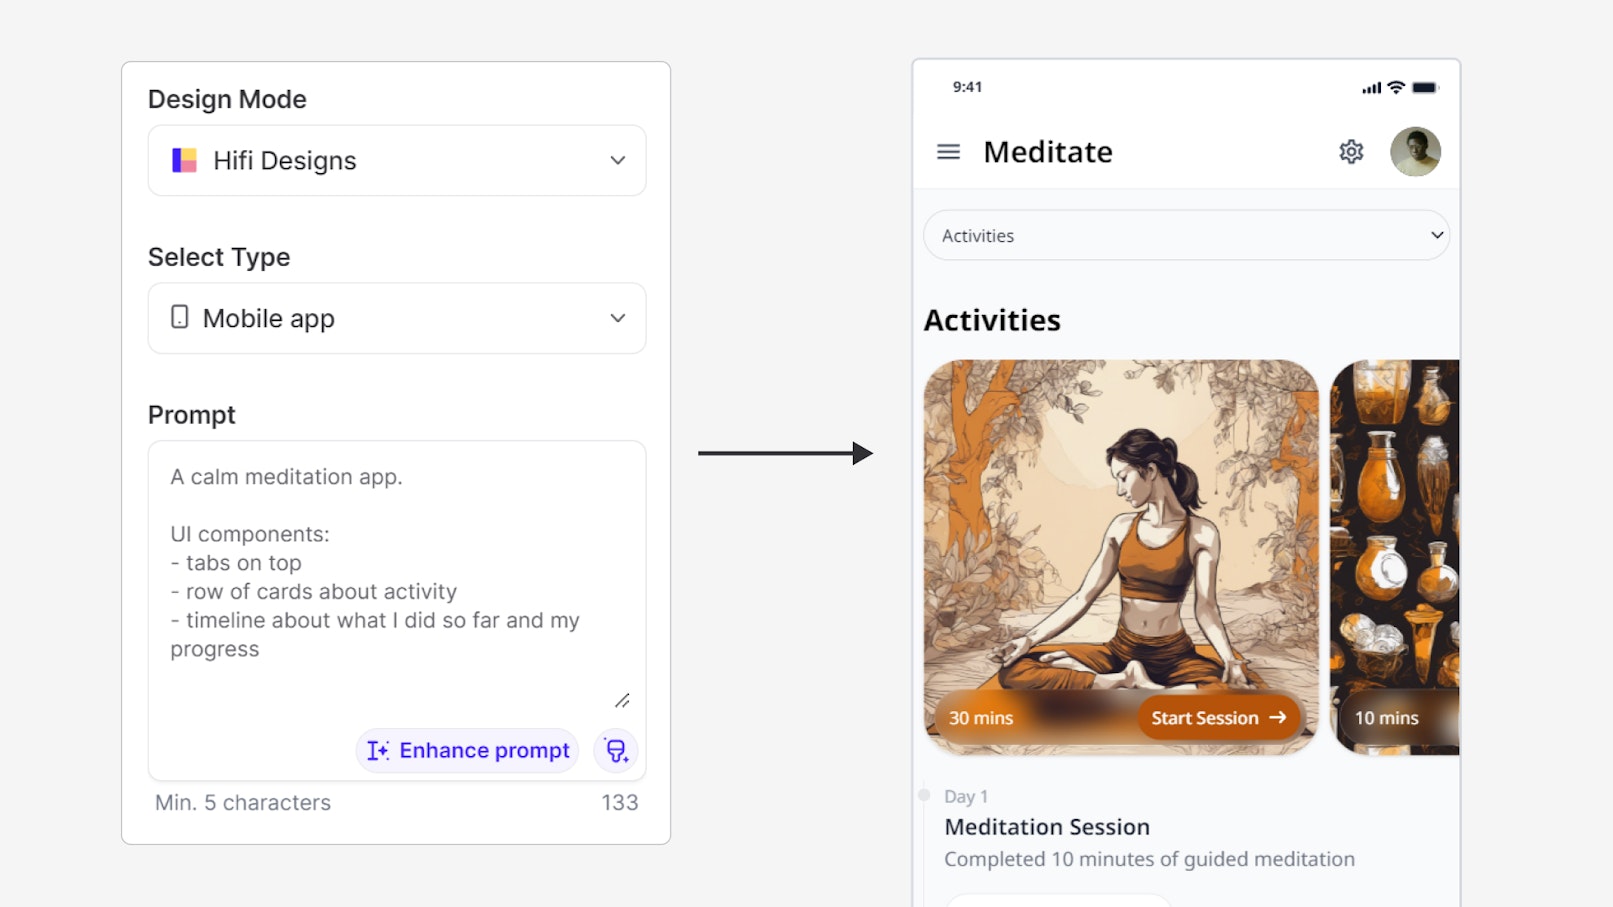
With UX pilot, you can turn a simple text prompt like:
“A matchmaking platform that connects individuals based on their shared passions and interests”
into this hi-fi design in a matter of seconds:

Generate UI design in Figma with UX Pilot AI
If you’re wondering how this magic happens, you’re about to find out. This article will take you through a five-step process of using UX Pilot to generate UI designs in Figma:
Create an account
Upgrade to the paid plan
Launch the plugin in Figma
Prompt the AI
Edit your designs
So, if you’re ready to explore the power of UX Pilot, let’s get started.
But first, what is UX Pilot?
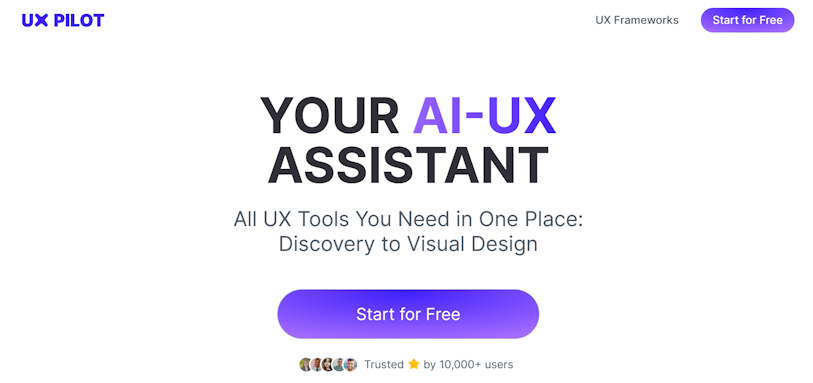
UX Pilot is an AI-powered web app and Figma plugin designed to power your UX design process from discovery to final design. With this tool, you can generate interview questions, extract insights from interview transcripts, generate wireframes and hi-fi designs, get design reviews, generate custom workshops, and more.
Let’s check out this tool in action by exploring how to generate UI designs in Figma with it.
How to generate UI designs in Figma with UX Pilot
1. Create an account
You’ll need to sign up to access UX Pilot’s features. But not to worry, the process is seamless and only takes a few minutes. Simply head to uxpilot.ai and click the ‘Start for Free’ button. You can sign up using Google authentication or your email address. To sign up via email, just enter your details, verify your email, and you’re all set up.
With your account all set up, you can start exploring the magic of UX Pilot for free. But to access the full range of features, including the hi-fi UI generator, you’ll need to upgrade to the paid plan which only costs $6 a month.
2. Upgrade to the paid plan
On the homepage, click the ‘Upgrade’ button located at the top of the screen. Then, under the unlimited plan, click ‘Upgrade’ and follow the prompts to complete your payment.
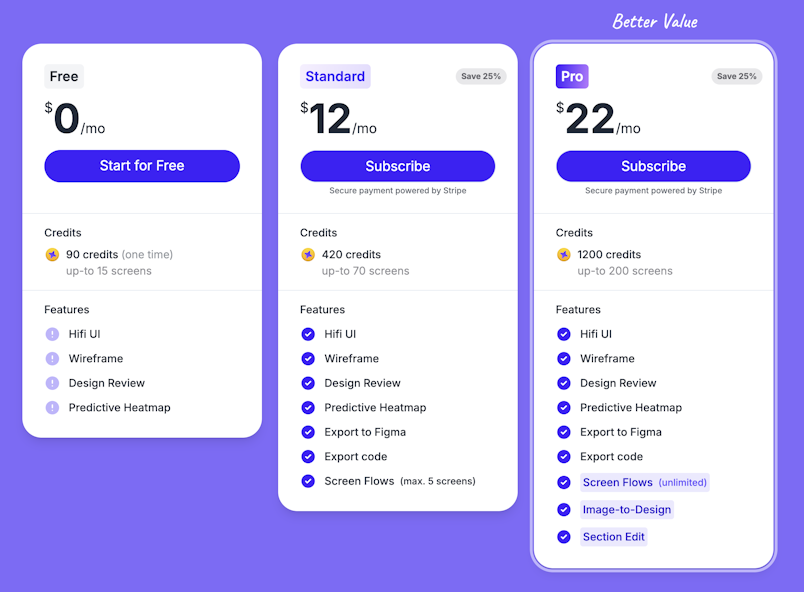
You can choose between yearly and monthly packages
Once done, you’re ready to access UX Pilot’s premium features, including the hi-fi UI generator.
3. Launch the plugin in Figma
From your Figma design file, go to the plugins community and search for UX Pilot. Then select UX Pilot AI: UI Design & Wireframes from the available plugins.
Once the UX Pilot pop-up window appears, it’s time to prompt the AI.
4. Prompt the AI
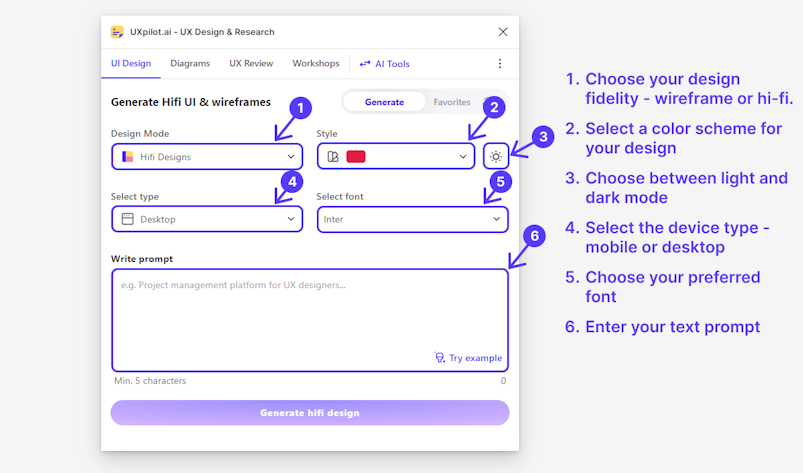
In the box labeled ‘Write prompt’, enter a brief description of what you want to create. For our first example, we’ll ask the AI to generate a landing page for a job search platform.
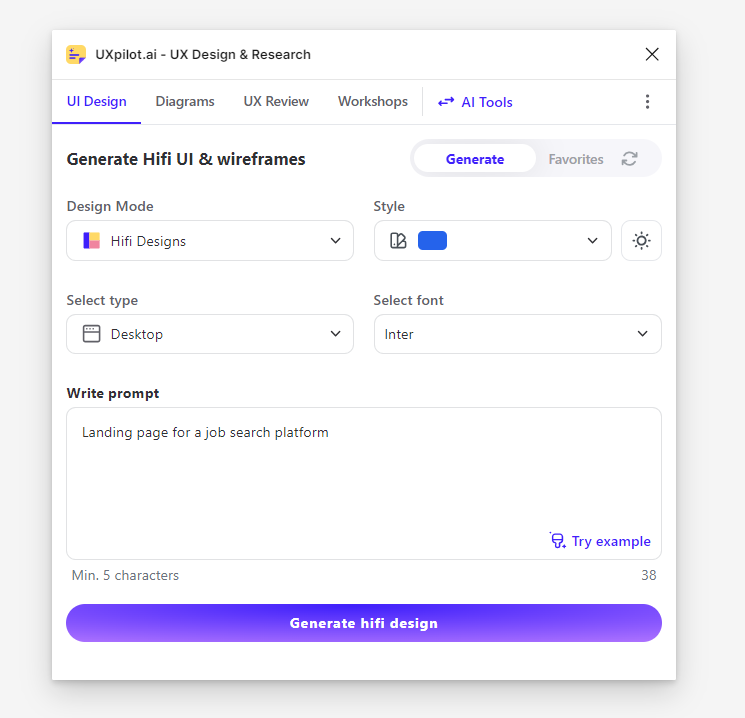
Prompt: Landing page for a job search platform.
In case you haven’t noticed, one advantage of using UX Pilot is the customization options. You can pick your own colors and choose the font you want, so your output design perfectly matches your style.
Now, back to our task. Once you’ve entered your description, click ‘Generate hifi design’, sit back, and let the AI do its thing. It only takes a few seconds.

And voila! You have a high-fidelity mockup of your design. All elements in the design are fully editable, so you can customize it to suit your needs.
Easy peasy, right?
Now, let’s take things up a notch. Next, we’ll prompt the AI to generate hi-fi designs for a matchmaking platform. But this time, the prompt will be more specific.
Here it goes:
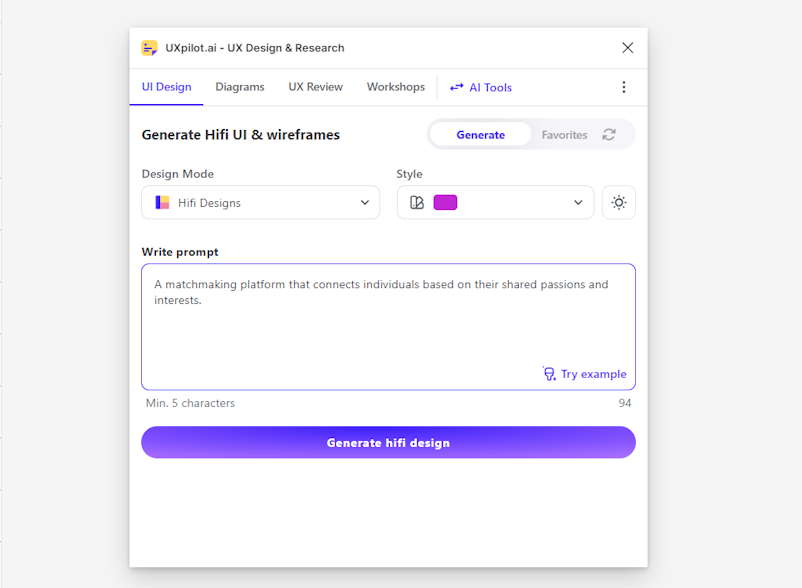
Text prompt: A matchmaking platform that connects individuals based on their shared passions and interests.
Here is the result:

Although the AI only generated the matchmaking platform’s homepage, the design matches the text prompt perfectly.
The homepage includes some pretty impressive features such as:
A calendar to track your social events
An overview of your latest matches
Reviews to let you know what others are saying about the platform
Interest groups like food lovers and adventure enthusiasts to help you connect with your people.
With these features, you already have some cool ideas to boost your creativity. Now, let’s check out how UX Pilot can help when it comes to creating mobile designs. We’ll make the prompt even more specific and switch the device to a mobile app. Here’s our prompt:
A matchmaking platform that connects individuals based on their shared passions and interests.
UI components:
A welcome message
A search field for users to find matches based on interest
Display cards showing recent matches
Display cards showing interest groups
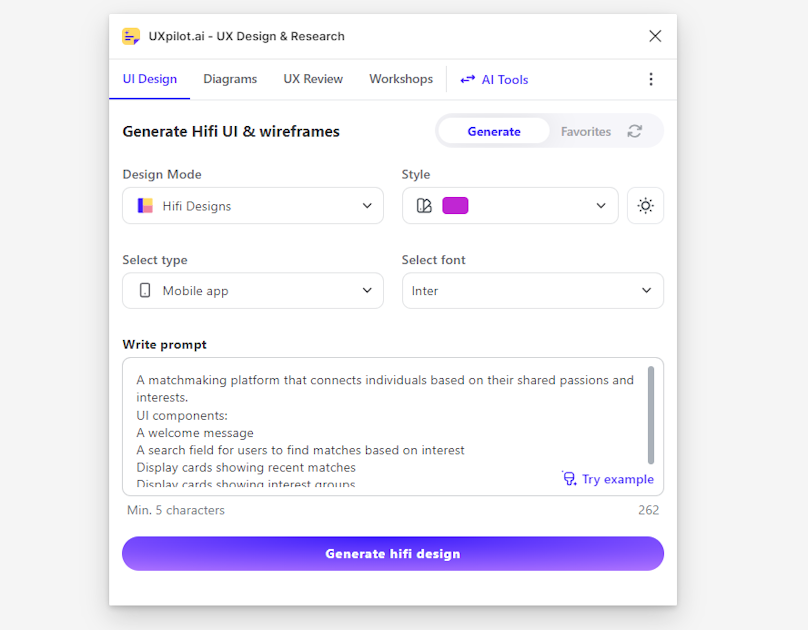
Here’s the result:

As requested, we have a search field, a welcome message, cards showing recent matches, and display cards showing interest groups. Also, notice how the color scheme and font align with our specifications. Quite impressive, right?
5. Edit your designs
One great advantage of an AI-powered design generator like UX Pilot is that the designs it generates can serve as great starting points. You can use them as a foundation and let your creativity flow from there.
Editing the designs is as straightforward as editing any of your Figma designs. Select the element you want to change and edit it like you would any other design in Figma.
So, there you have it, a five-step process for generating UI designs in Figma with the help of our trusted UX Pilot.
Wrapping up
Although UX Pilot is still a new tool, it’s already proving helpful to designers. As the design world keeps evolving, AI-powered tools such as this can help designers stay innovative and efficient as they hold immense potential to revolutionize how we approach design.
This article delved into the process of generating UI designs with AI, one of the many functions of UX Pilot. And from what we’ve seen, the tool did quite a good job.
So, what’s stopping you from giving UX Pilot a try?

